Making fun and educational crafts for kids doesn’t have to be complicated. If you’re looking for a simple, engaging, and meaningful activity, this DIY emotions flip book is a great choice. It not only helps kids develop creativity, but also teaches them how to recognize and express different emotions.
In this detailed guide, you will learn how to flip emotions step by step using printable templates. This activity is especially great for preschool and elementary school students, making learning fun and interactive.
What is an Emotions Flip Book?
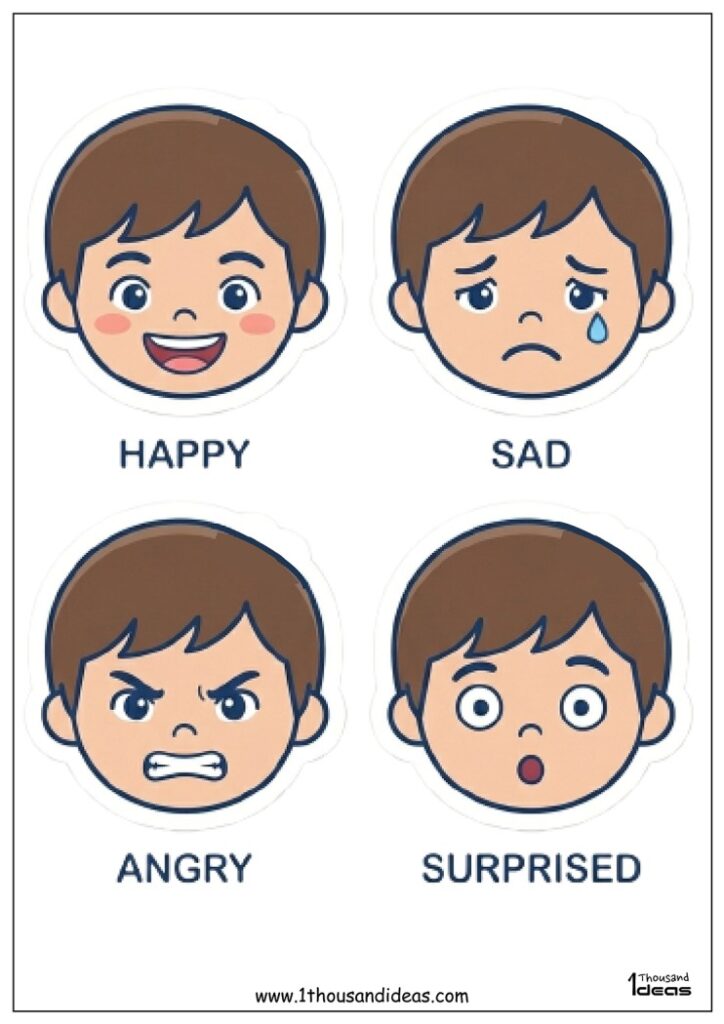
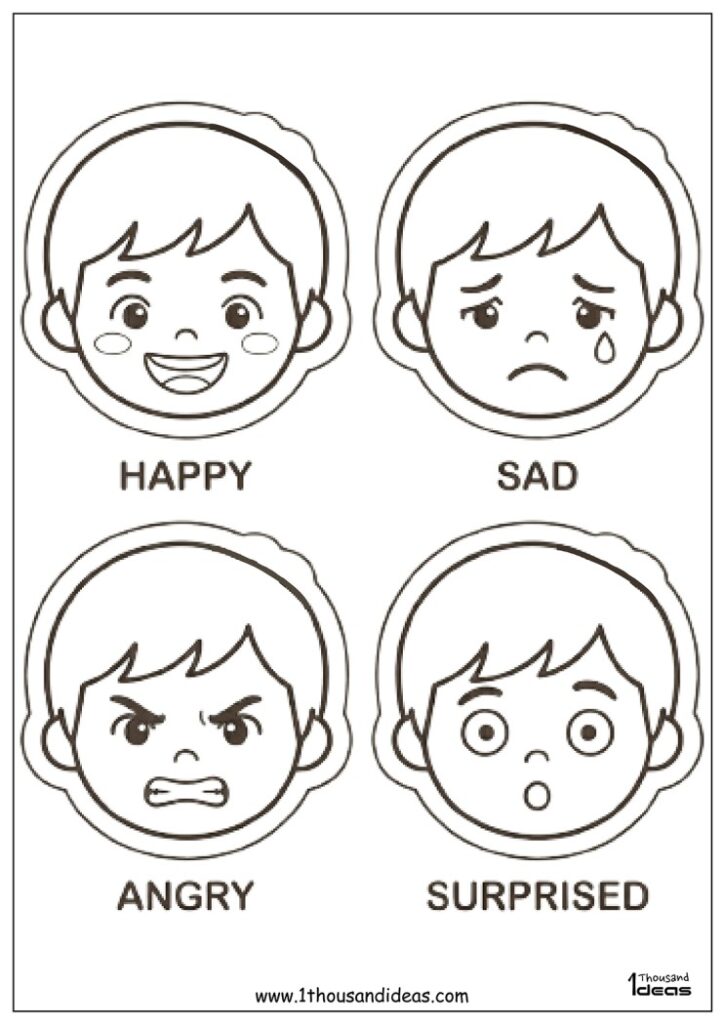
The Emotions Flip Book is a creative paper craft where children can flip through different facial expressions associated with a character. Each flip reveals a new emotion, such as happy, sad, angry, surprised, or excited.
It is a powerful learning tool that helps children:
- Understand feelings and emotions.
- Improve communication skills
- Improve creativity and fine motor skills
- Engage in hands-on learning.
What You’ll Get (Free Printable PDFs)
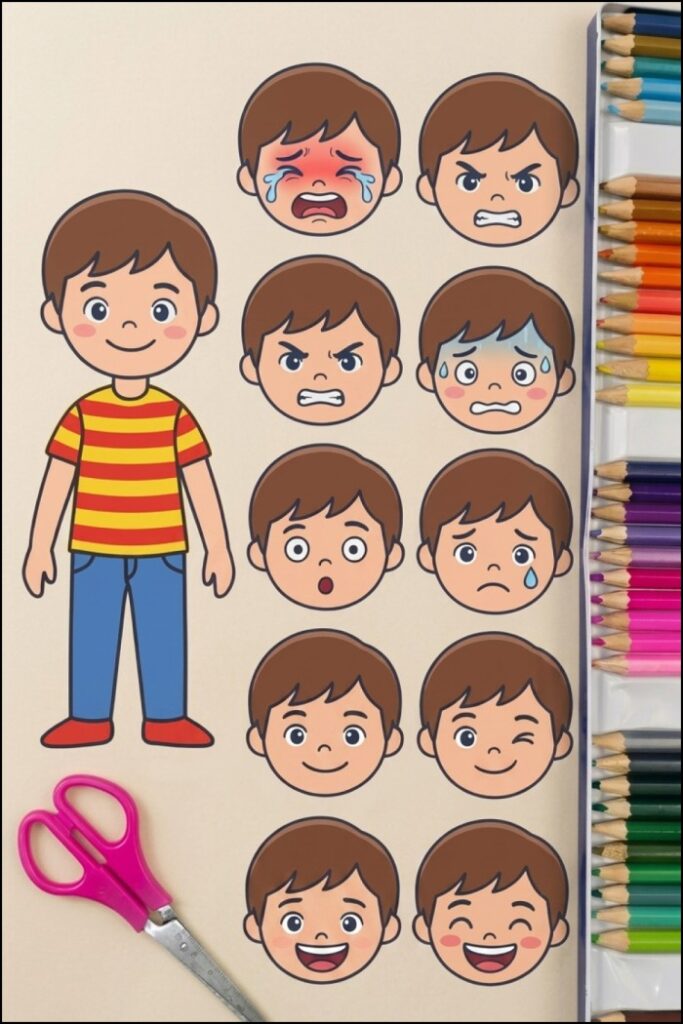
To make things easier, you will have 3 printable PDFs:
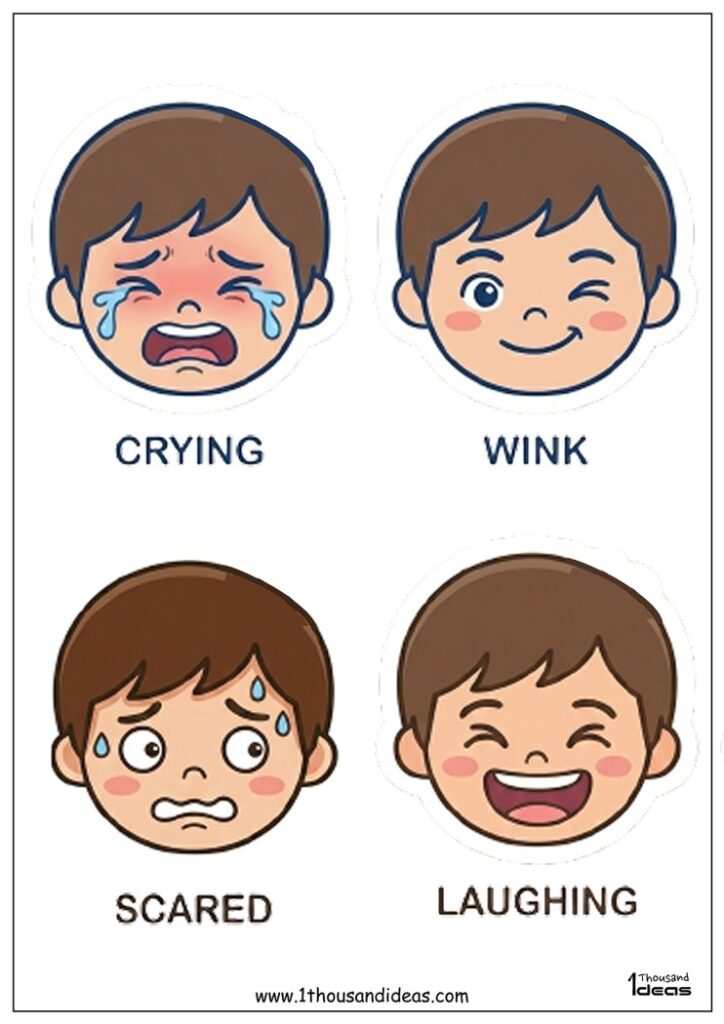
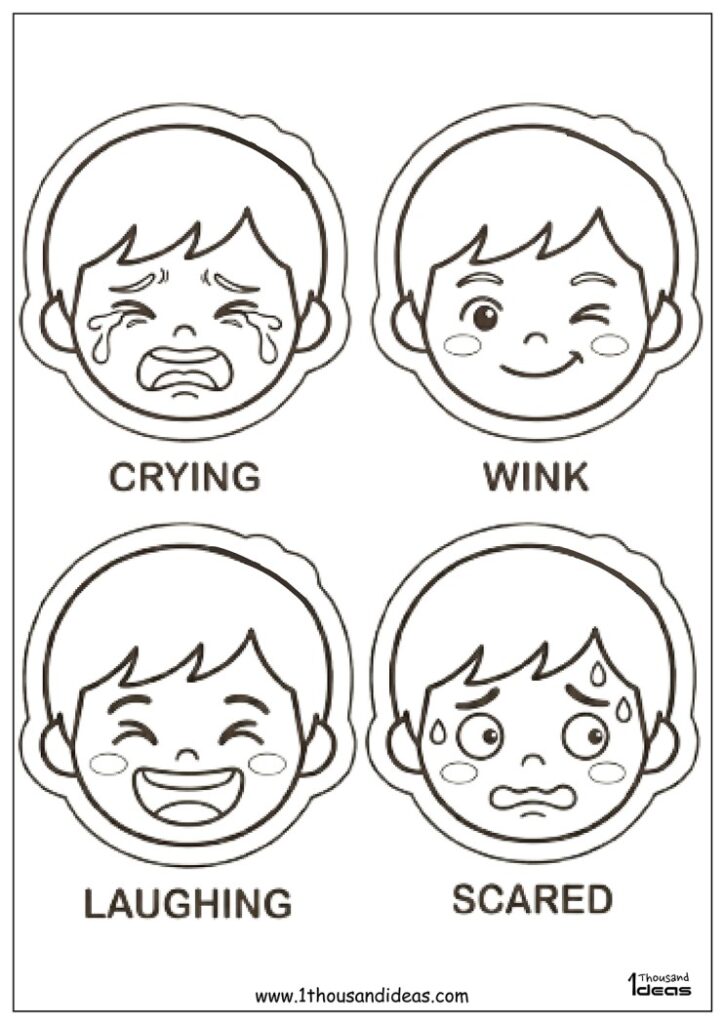
Emotional Faces PDF (Set 1) – 4 different faces
Emotional Faces PDF (Set 2) – 4 more faces
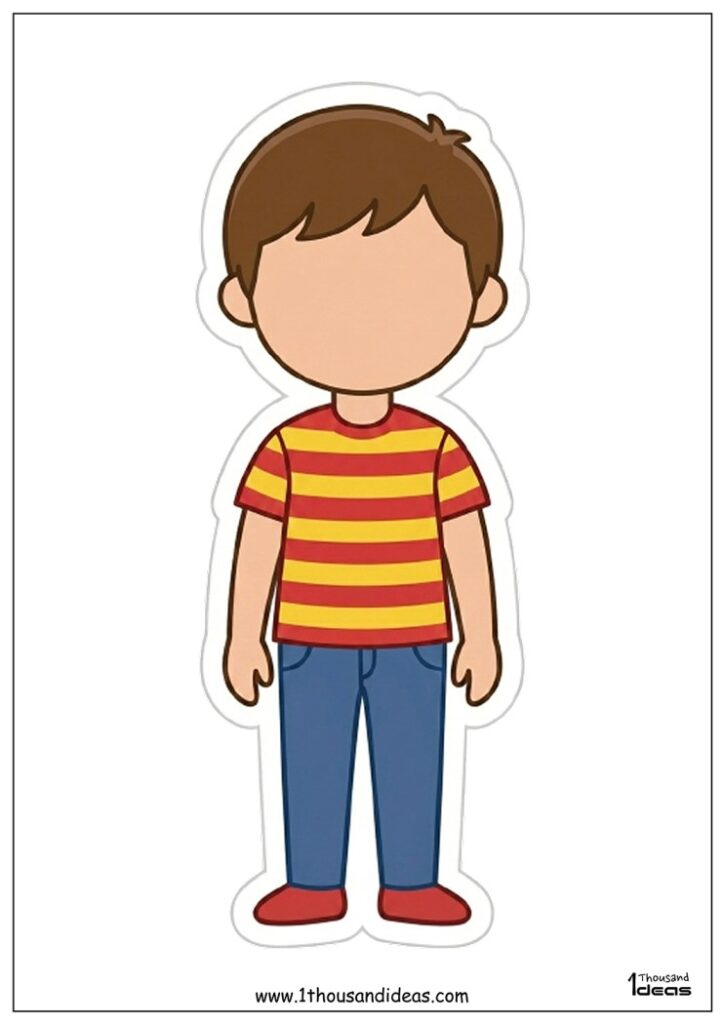
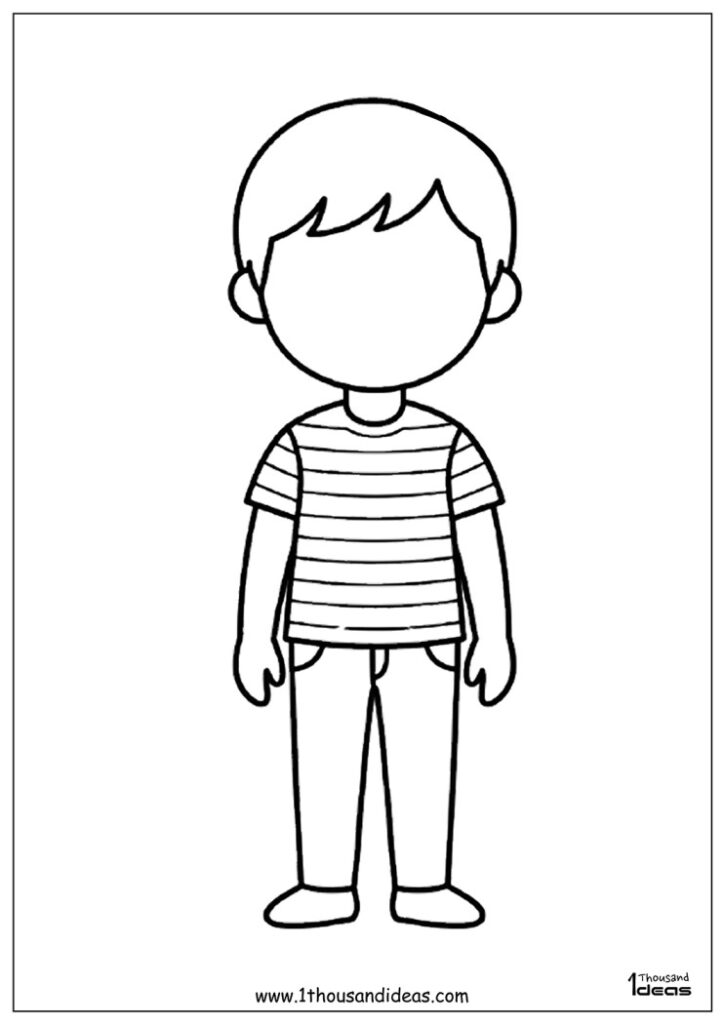
Boy Figure PDF – Basic Character
👉 Total: 8 different emotions + 1 character
Colored Version (Download Your Free PDFs)
Materials You’ll Need
- Printed PDFs
- Scissors
- Glue
- Hard paper or cardstock
- Pencil (optional)
Step-by-Step Instructions:
1. Arrange Your Printouts
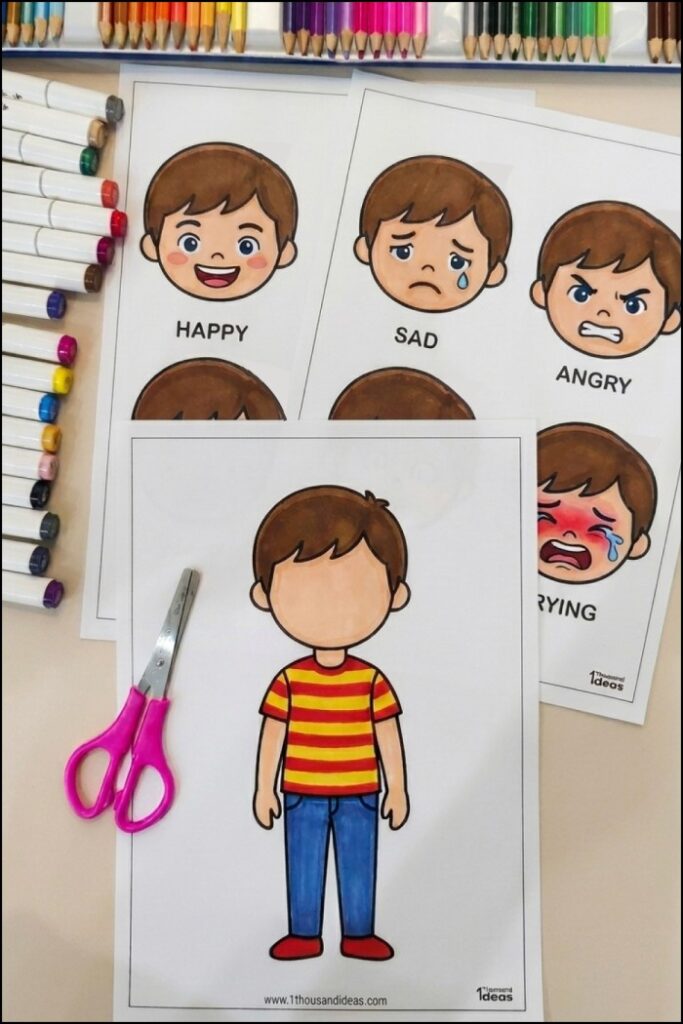
In the first step, lay out all your printed sheets on the table. You should have:
- Two sheets with the emotion faces (4 on each sheet)
- One sheet with the boy shape
Make sure everything is clearly visible and ready to cut.
2. Cut All Pieces
Now carefully cut out:
- All the emotional faces
- The boy’s shape
Try to cut neatly along the edges so that your final craft looks neat and professional.
💡 Tip: Younger children may need help with this step.
3. Paste the Figure on Hard Paper
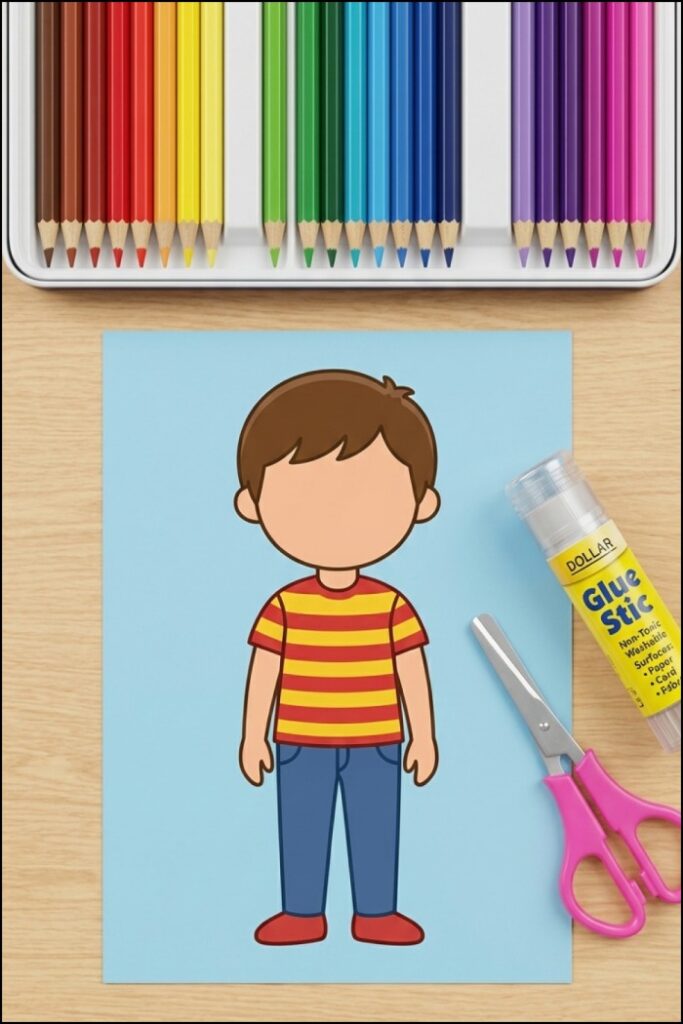
Take the boy figure and paste it onto a sheet of hard paper or cardstock.
Why is this step important:
- Makes the base strong
- Helps the flip book stay stable
- Gives a neat final look
After pasting, cut the figure again if needed.
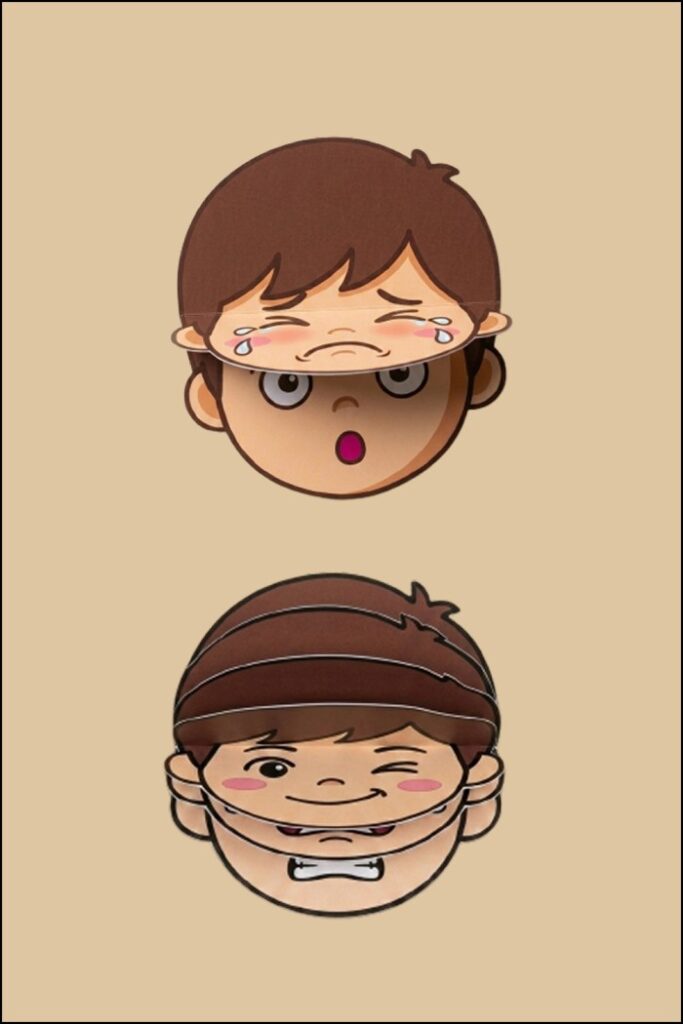
4. Fold All Emotion Faces

Take each emoticon and fold it in half horizontally.
You will now have:
- A front side (the face is visible)
- A back side (used for pasting)
Make sure the folds are neat and properly aligned.
5. Assemble the Flip Book
This is the most important step!
Follow this sequence carefully:
- Take the first folded face.
- Apply glue to the back of its mouth.
- Stick it to the back of the head section of the next face.
- Repeat this process for all faces.
👉 Continue this pattern:
Mouth back → Next face head back
By doing this, all the faces will be connected in a chain, creating a flip mechanism.
When done correctly, you will have a smooth flipping chain of emotions.
6. Attach the Flip Book to the Figure
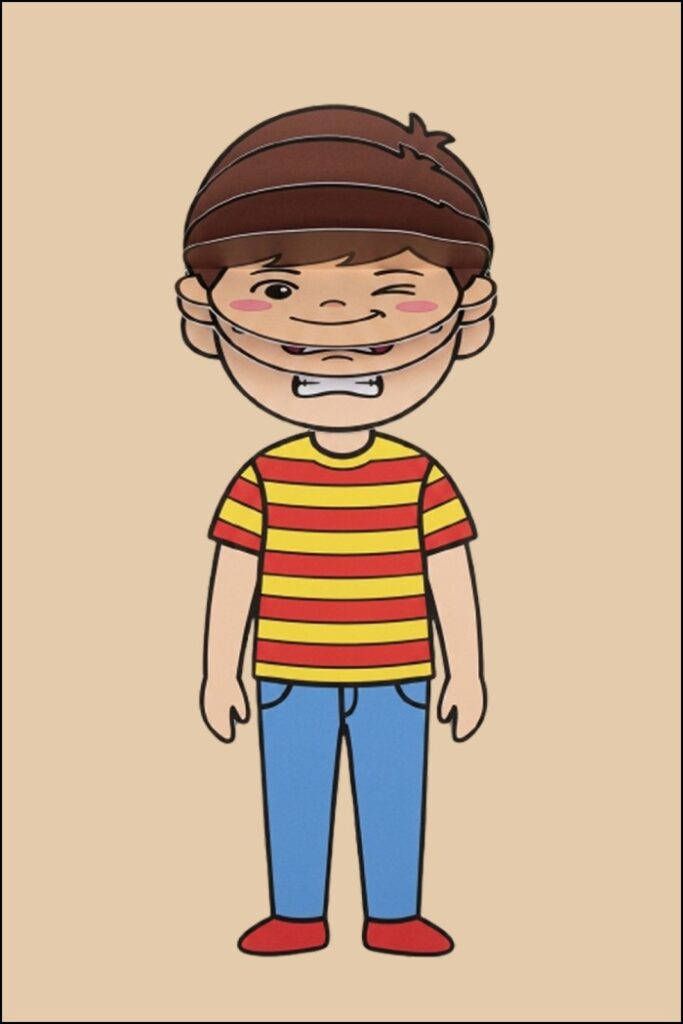
Finally, stick your completed emotion flipbook onto the face part of the boy figure.
Align it correctly so that:
- The faces flip easily.
- It looks centered and clean.
🎉 Your DIY emotion flipbook is now ready!
No Colored Printer? Don’t Worry — Get Creative Instead!
Bonus:
No access to a color printer? No problem—this activity just gets even more fun!
You’ll also have black-and-white outline versions of all the templates. Here’s how to make the most of them:
Outline Coloring Version (Black & White) ( Download Free PDFs )
These are perfect for:
- Kids who love to color
- Schools without color printing
- Creative customization
🎨 Turn it into a coloring activity.
Let the kids color each emotion in their own way. This boosts creativity and makes the craft more personal.
How to use them:
- Turn it into a coloring activity.
Let kids color each emotion in their own way. - Encourage creativity.
Kids can choose unique colors for their emotions. - Personalize the craft
Each flip book becomes unique and meaningful.
Fun Art Material Ideas:
Make the activity more exciting by using different materials:
- Crayons
- Markers
- Colored pencils
- Watercolors
- Glitter pens
- Stickers
Creative Teaching Ideas
This DIY emotions flip book is more than just a craft — it can be used as a powerful teaching tool to help children understand and express their emotions in a fun way.
A great way to extend this activity is with an emotions talk time. After completing the flip book, sit down with the children and talk about each emotion. Ask simple questions like, “When do you feel happy?” or “What makes you angry?” This helps children connect emotions to real-life situations and learn how to express themselves better.
You can also turn this into a role-playing activity. Have children act out the emotions shown in their flip books using facial expressions and body language. This makes learning interactive and helps them recognize emotions in others.
Another fun idea is to tell a story. Encourage children to create a short story using different emotions. For example, they could start with a happy face and then move on to a sad or surprised face. This encourages creativity and helps them understand how feelings can change in different situations.
The flipbook can also be used as a daily check-in tool. Each day, children can flip to the emotion that matches their feelings. This simple routine helps teachers and parents understand children’s emotions and better support them.
Final Thoughts
A DIY Emotions Flip Book is more than just a fun craft — it’s a meaningful way to help children understand and express their emotions. Through simple steps like cutting, coloring, and flipping, children begin to recognize different emotions and, in turn, connect them to their everyday experiences.
Plus, this activity naturally combines creativity with learning, making it both fun and educational. Children are engaged throughout the process, while also developing important skills like emotional awareness, communication, and confidence. Whether used in the classroom or at home, it creates valuable opportunities for conversation, interaction, and emotional connection.
What's more, what makes this craft truly special is its simplicity and powerful impact. With just a few basic materials, you can easily create a tool that supports a child's emotional development in a gentle and interactive way. Over time, such activities help children develop strong self-awareness and develop healthy ways to express their emotions in different situations.