
The first day of school is more than just the start of a new academic year; it is a wonderful opportunity to generate excitement, boost confidence, and make students feel welcome. A colorful, Double-Sided Welcome Banner is one of the most effective ways to transform school corridors and hallways into a cheerful and inviting space.
Unlike traditional wall decorations, a hanging double-sided banner is visible from both directions, making it ideal for school corridors, entryways, hallways, and open areas. As students walk through the corridor, they can enjoy the various designs and inspiring messages from every angle.
In this tutorial, I will show you how I created a handmade, Double-Sided Welcome Back to School Banner using simple craft supplies. This DIY project is budget-friendly and easily customizable; it is perfect for teachers, art instructors, preschool and elementary classes, and anyone who enjoys decorating bulletin boards.
Whether you are decorating for preschool, kindergarten, elementary school, or middle school, this creative hallway decoration will help make the first day of school extra special.
Why Choose a Double-Sided Welcome Banner?
A hanging banner featuring artwork on both sides instantly grabs attention. Students can enjoy the various characters, decorations, and messages depending on the direction they are walking.
Benefits of a double-sided banner:
- Visible from both sides of the hallway.
- Creates an engaging first impression.
- Brightens up empty school corridors.
- Fosters a welcoming educational environment.
- Perfect for school entrances and hallways.
- Reusable for every school year.
- Easy to customize with your own themes and colors.
This decoration not only looks beautiful but also creates a warm atmosphere, helping students feel comfortable and excited about returning to school.
Materials You’ll Need:
Before diving into the crafting process, gather the following materials to create your very own double-sided welcome banner:
- Large pieces of cardboard or fabric for the base
- Colorful paints, markers, or colored paper for decoration
- Cardboard or felt to make characters and accessories
- Wool for hair or other fun textures
- Scissors, glue, and tape
- Printable or hand-written phrases for the banner
Step-by-Step Guide to Creating Your Double-Sided Welcome Banner
Design fun handmade characters:
To give your banner a personalized touch, you can make fun characters. For the girl characters, I created handmade cardboard figures with wool hair to add texture and charm to the banner, and for the boys, I used colored paper for the hair. These characters are whimsical and serve as playful elements that kids will love.
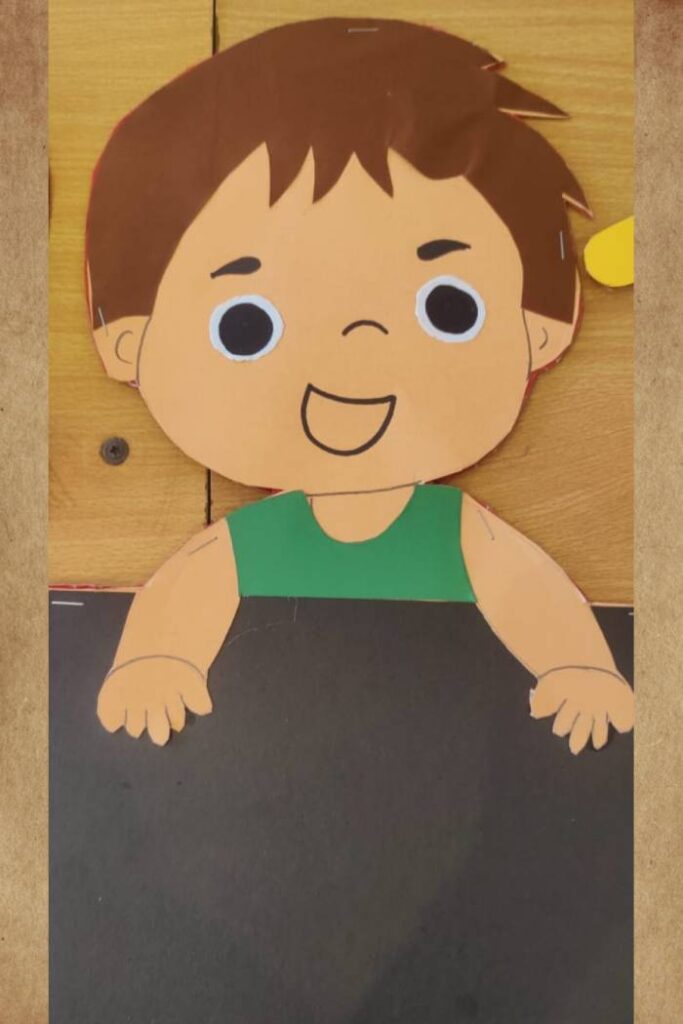
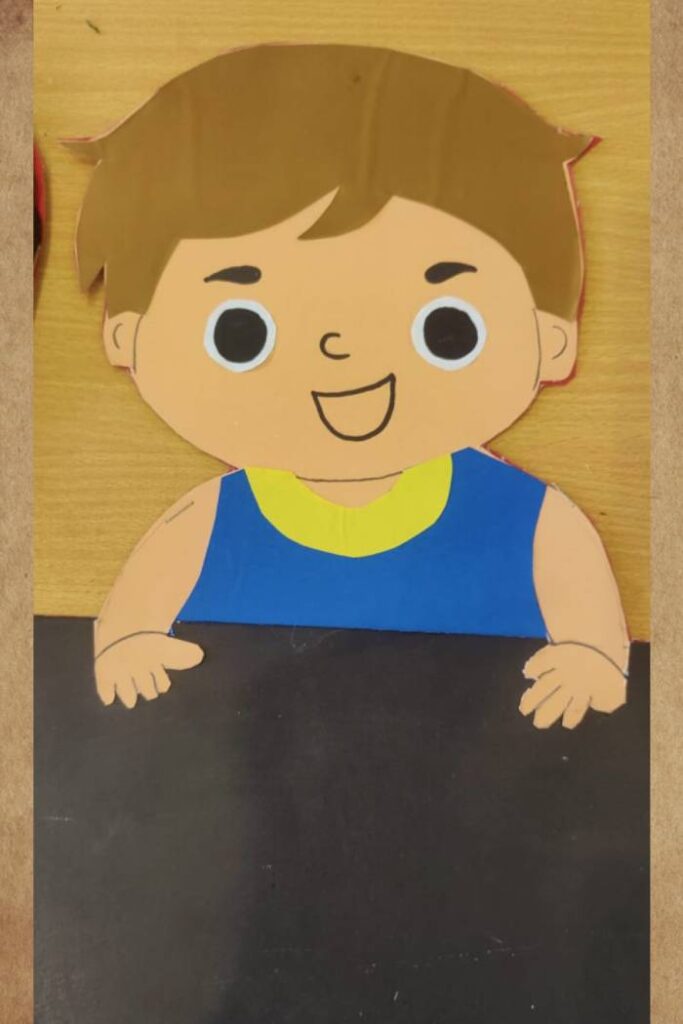
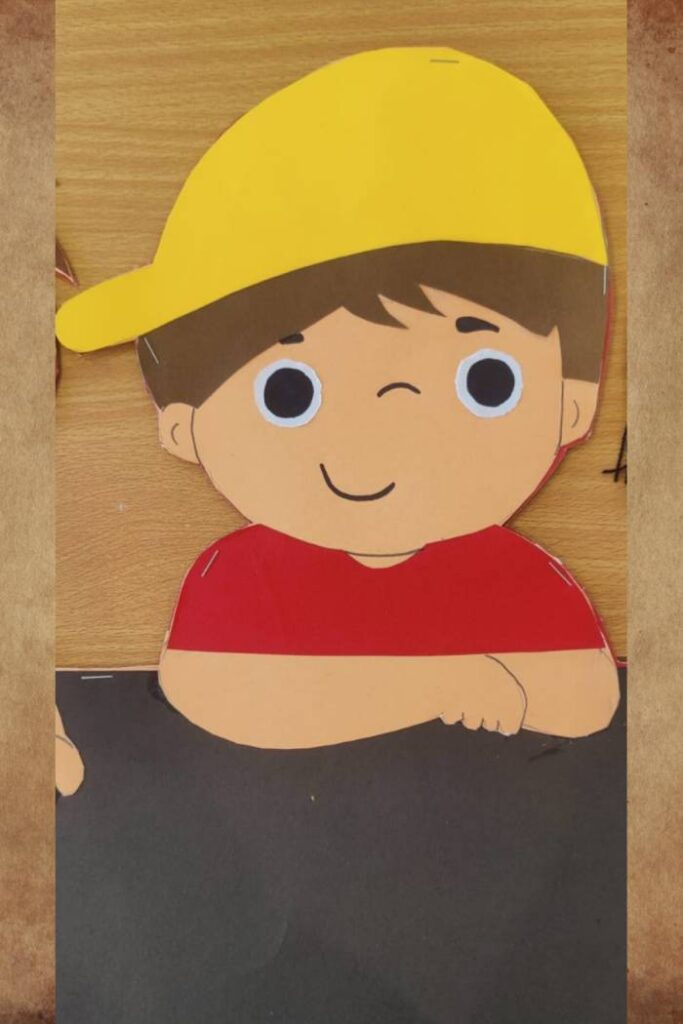
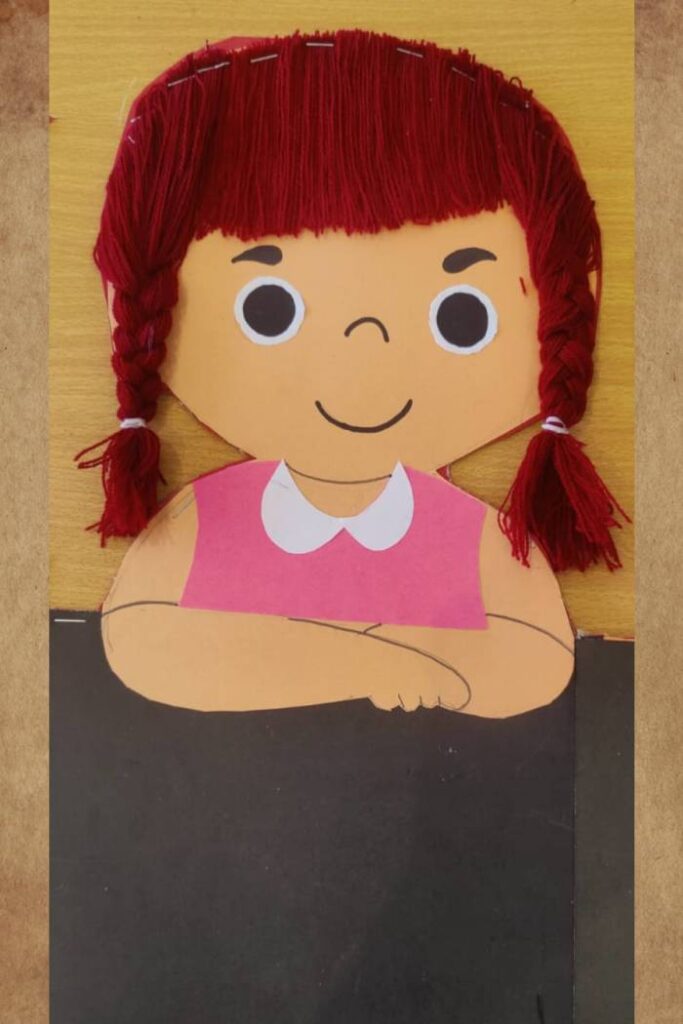
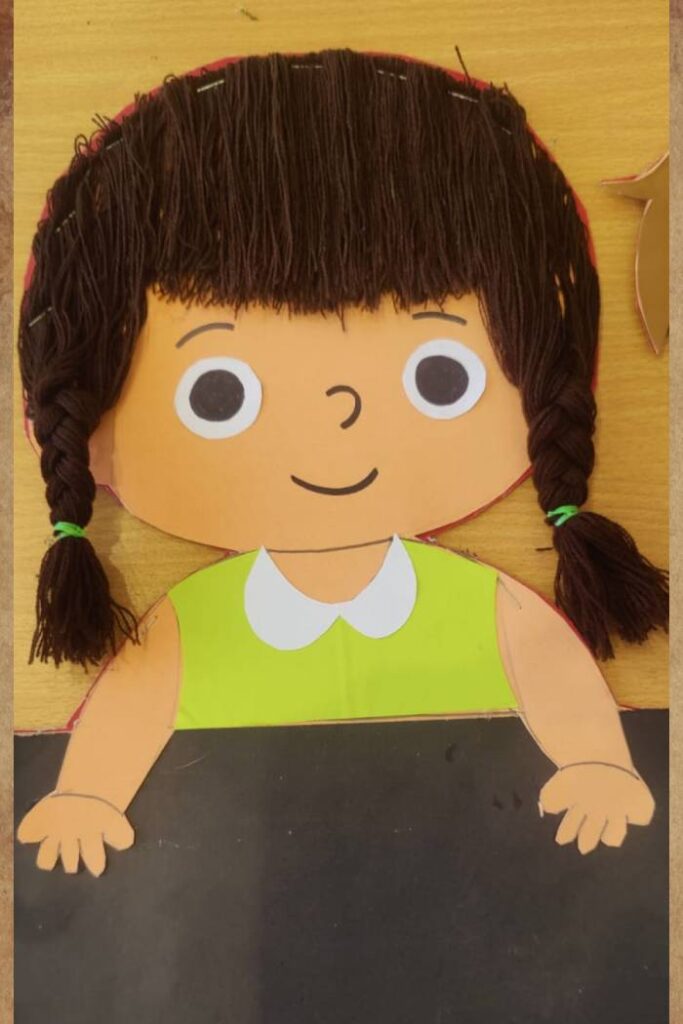
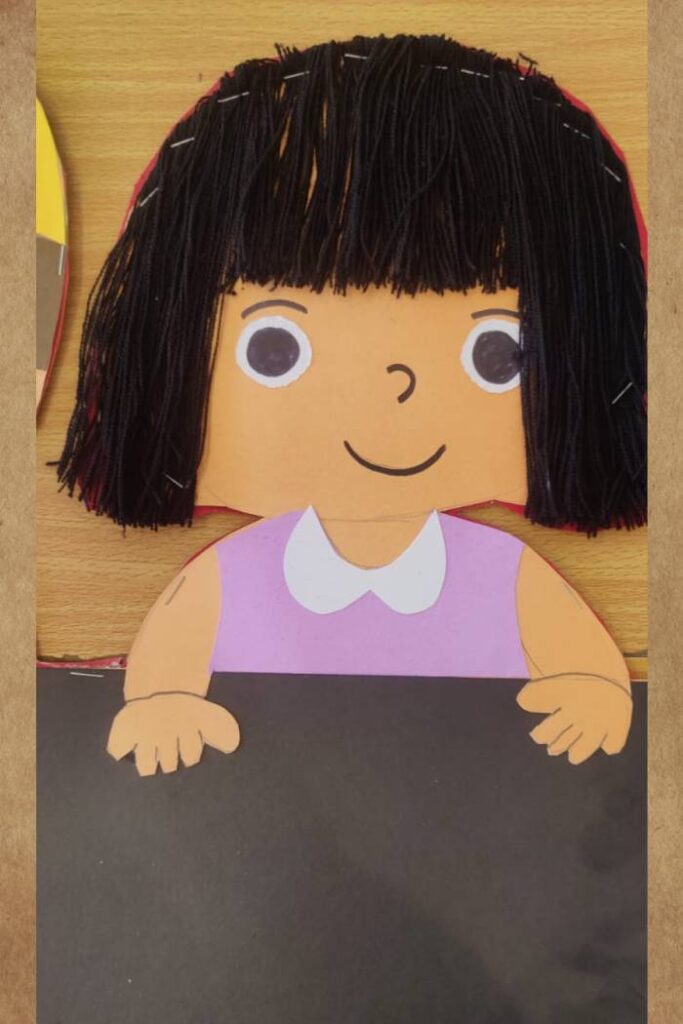
These images highlight some of the handmade cardboard characters with wool hair that I added to the banner. These characters bring the design to life, making it more engaging for young students.
Incorporate school accessories:
Don’t forget to add school-themed accessories to the banner! I added objects like pencils, books, erasers, scissors, and school bags to complement the characters. These elements enhance the banner’s theme and make it feel more vibrant.
You can make these accessories using cardboard or colored paper and then attach them to the banner with glue. Ensure they’re securely fastened so they don’t fall off once the banner is hung.
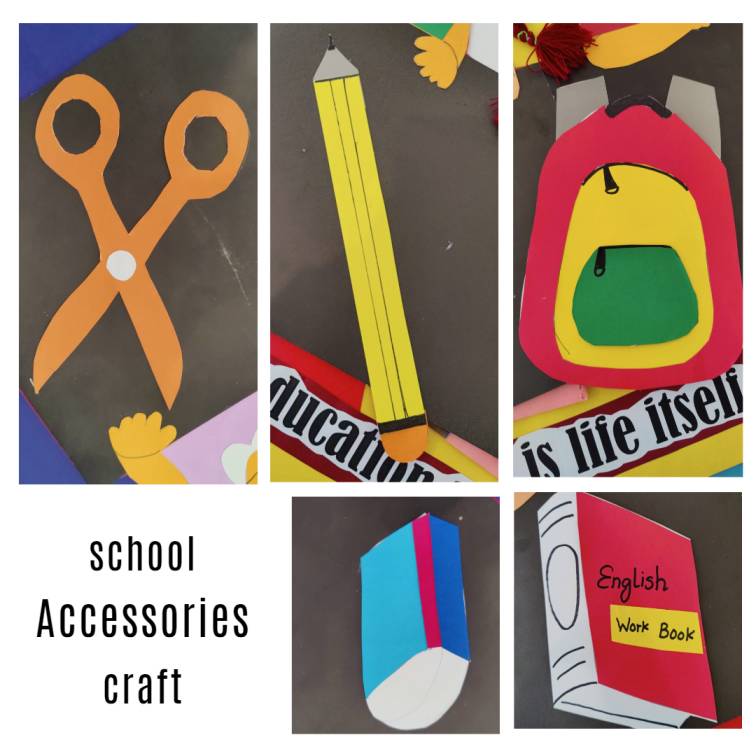
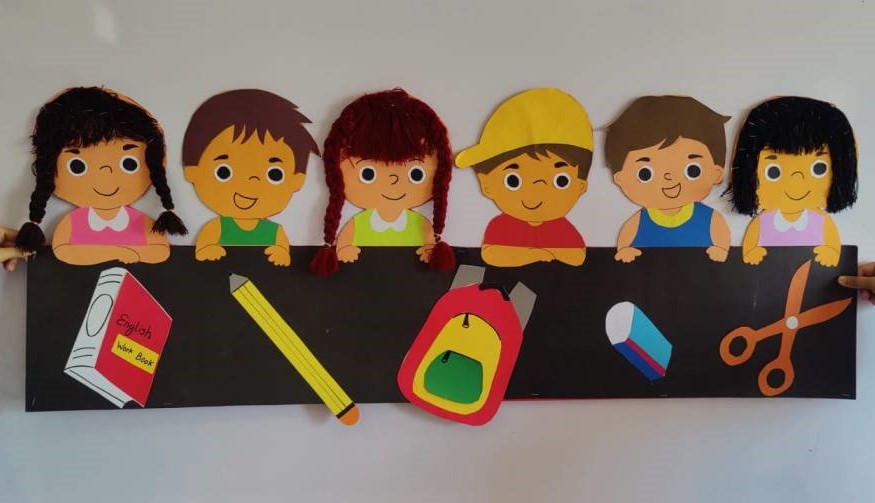
Here, you can see school accessory crafts like a pencil, book, eraser, scissors, and school bag that complement the characters and make the overall design feel complete.
Add Your Creative Phrase:
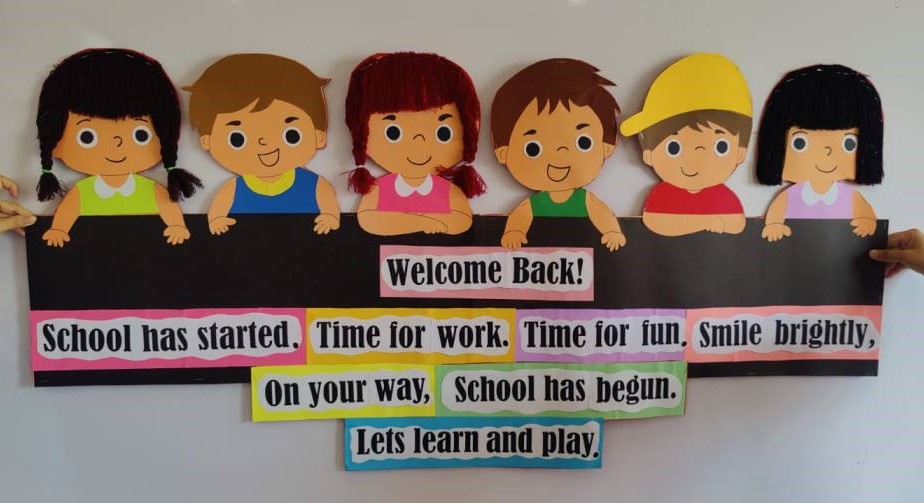
The phrase “Welcome back! School has started. Time for work. Time for fun. Smile brightly; on your way, school has begun. Let’s Learn and Play.” is placed centrally on the banner and adds a cheerful vibe. This encourages students to approach the year with enthusiasm, knowing that there’s always room for both learning and fun.
The words are written in a playful font with bright colors and a fun design that catches the eye. You can use a printer, stencils, or freehand it, depending on your artistic skills.
Hang Your Banner:
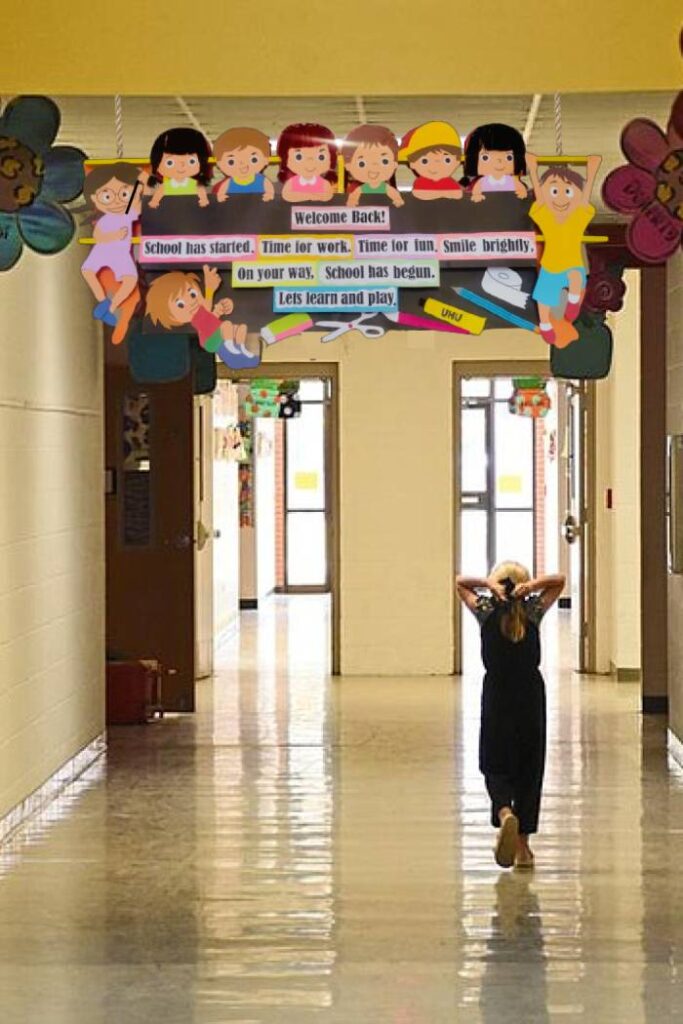
Once your banner is complete, it’s time to hang it up! For maximum impact, I hung my double-sided welcome banner in the school corridor, where students can see both sides as they walk by. The bright colors and bold messages are sure to catch their attention and get them excited for the new school year.
You can use strings or hooks to secure the banner. If you’re using fabric, consider sewing loops at the top to easily hang it with a rod or rope.
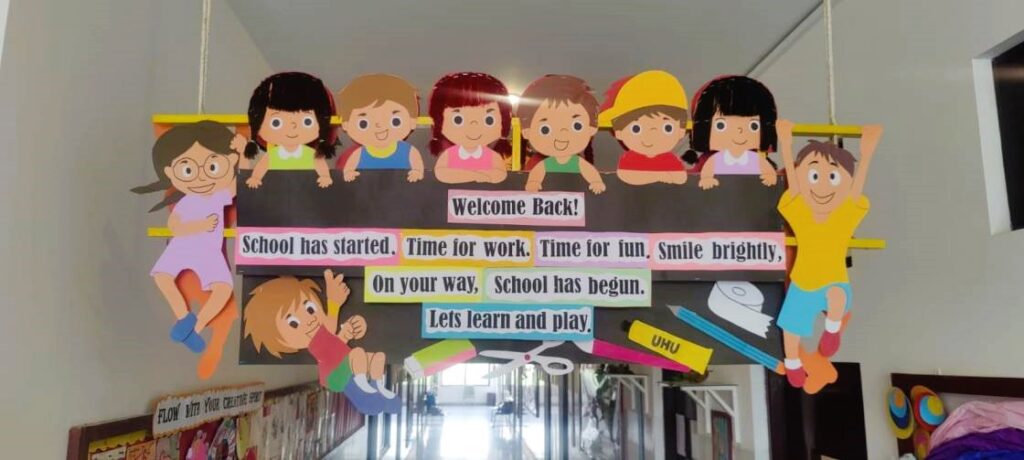
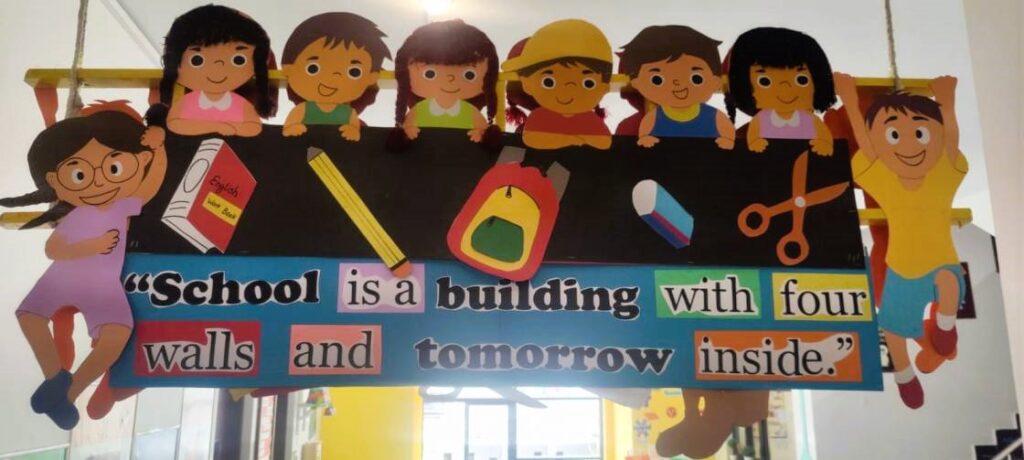
Double-Sided Corridor Welcome Banner Back Side
In this image, you can see the finished double-sided welcome banner hanging in the school corridor. It’s the perfect way to greet students and teachers at the start of a new year.
Best Places to Display a Double-Sided Banner
This versatile decoration works beautifully in many areas of the school:
- School entrance
- Reception area
- Hallways
- Kindergarten classroom
- Preschool corridor
- Elementary school entrance
- Library entrance
- Activity room
- Art room
- Assembly hall
Since both sides are decorated, students can enjoy the design from every angle.
Why Students Love Handmade Decorations
Children naturally connect with colorful, handmade classroom decorations.
Unlike printed posters, handcrafted displays feel warm and personal.
Textured yarn hair, layered accessories, and cheerful expressions create an inviting atmosphere that helps ease first-day jitters and fosters enthusiasm for learning.
Teachers also appreciate handmade decorations because they showcase creativity and can easily be adapted to different themes each year.
Final Thoughts:
A DIY double-sided “Welcome Back to School” banner is more than just a decoration—it is a warm greeting that helps create a positive and exciting atmosphere for students, teachers, and parents. The combination of handmade student figures, colorful school-themed accents, and encouraging messages transforms an ordinary hallway into a vibrant learning space.
Since both sides of the banner are beautifully decorated, it delivers double the visual impact while making excellent use of the hallway space. Whether you are decorating the entrance to a preschool, elementary school, library, or classroom, this project is affordable, reusable, and fully customizable.
I hope this tutorial inspires you to create your own unique ‘welcome banner’ for the upcoming academic year. Gather your crafting supplies, unleash your creativity, and transform your school entrance into a space where every child feels excited to learn the moment they step through the door.